Making a Road Case for the Ophicleide: Bell Pad


Case Shell
Sizing
Bow Pad
Middle Pad
Top Pad
Bocal Case
Complete Case

 
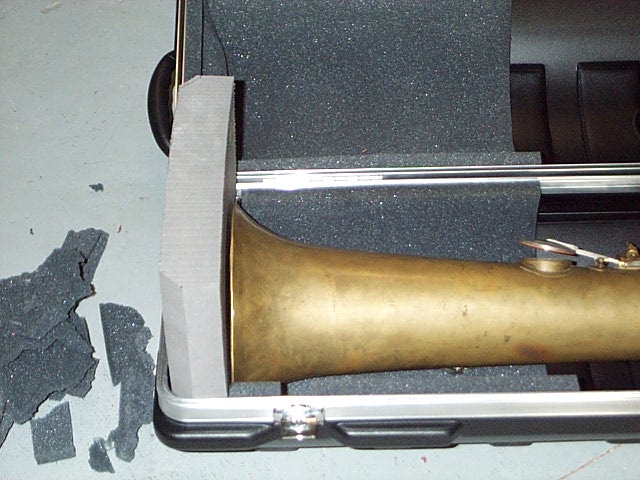
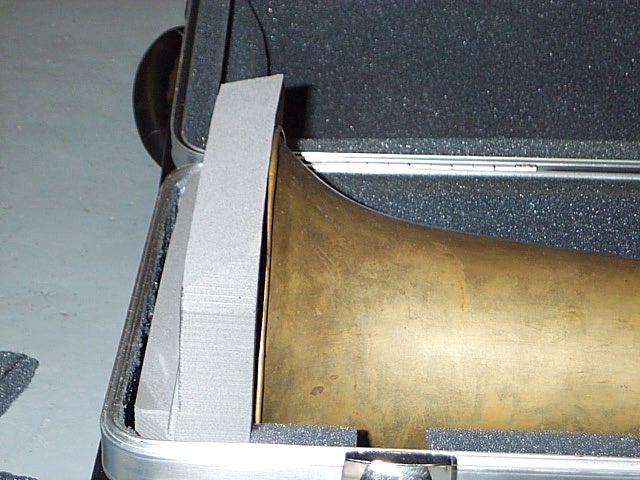
The ophicleide case needs a firm pad that will both protect the bell from longitudinal forces but will also keep the instrument pressed lightly yet firmly in the direction of the bow (see previous chapter.)

Whatever room remains in the case shell after the bow end is padded must be taken up with this bell pad. In the author's instance, the dimensions worked out so that the 2" thick foam sections added up with the length of the instrument to fit the case exactly. In other instances, it may be necessary to add more layers of foam, even thinner layers of cut foam.

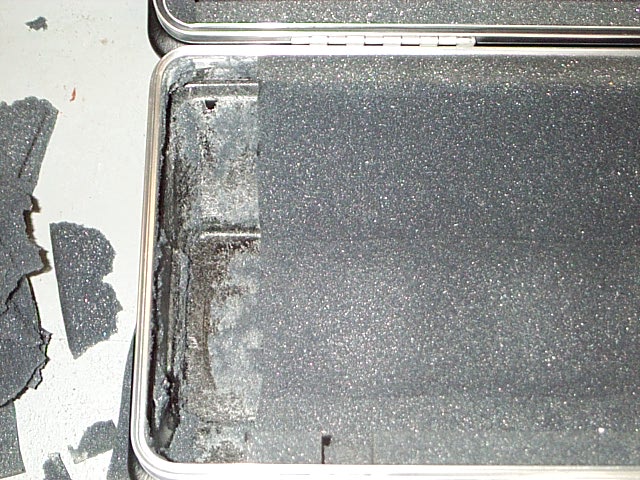
In either situation, it will be necessary to remove the SKB factory's foam so that an adequate gluing job can be done to hold the bell pad in place. This photo shows the excess foam rubber cut away.

This photo shows the test fitting of the bell pad with the bow pad assembly and ophicleide in place. Note that the bell pad is still in need of trimming in order for the top of the case to close.
 
This photo shows another view of the test fitting of the bell pad.
 
This photo shows the bell pad trimmed to allow the top half of the case to close. It is important that the trimming be done correctly, so that the pad is not too loose inside the case when the top is closed.

It is also important that the bottom half of the bell pad fits the case firmly, otherwise the limited adhesion of the glue to the polyethylene foam will not adequately secure the foam to the case shell.

 
This photo shows one more view of the finished bell pad. This is the most complex shape to cut; all cuts were made on a table saw except the small angle chamfer cuts at the top corners, which were made with a hand-held hacksaw blade.

All photos made using a Kodak DC240 digital camera.

Goto next chapter


The Serpent Website: Return to Index

Copyright Paul Schmidt 2000
added September 2000