Making a Road Case for the Ophicleide: Top Pad


Case Shell
Sizing
Bow Pad
Bell Pad
Middle Pad
Bocal Case
Complete Case

 
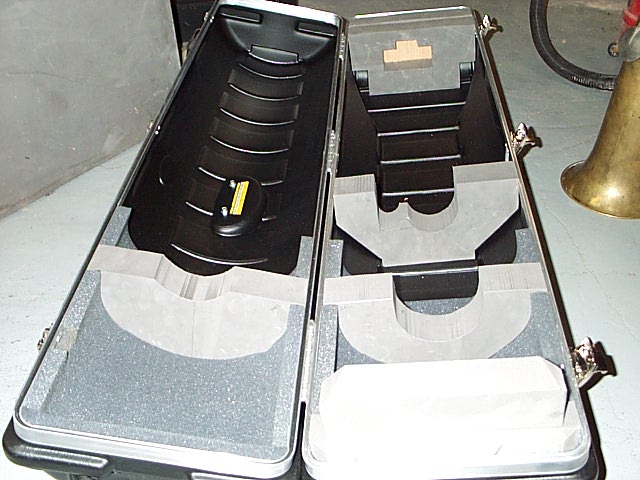
In order to allow the ophicleide to be lifted up at the bell end and then 'unplugged' from the bow pad assembly when removing it from the case, the bell must be free to move upwards. However, when the case is closed, it is necessary to prevent this same motion. 

This photo shows the upper half of the top pad, in place on the top half of the case. Note that the SKB factory foam has been removed to allow the pad to touch as many surfaces of the case as possible for adequate gluing.

A piece of cardboard was laid across the other lower half of the case where this pad will touch the instrument, and then trimmed until it fit the ophicleide's curve exactly. Next, the curve and its position relative to the edge of the aluminum valance was transferred to the piece of foam already cut to fit the top half of the case.

If life were simple, there would be no more pads required. 

However, the author looked at the top pad and worried about pushing down at this point while the instrument was supported in the opposite direction at another point along its length (the middle pad.)

So, a complementary 'pillow' pad was made opposite the top pad, similarly cut to fit the ophicleide's contours.

So, this photo shows all five pads, each serving a separate purpose.

 
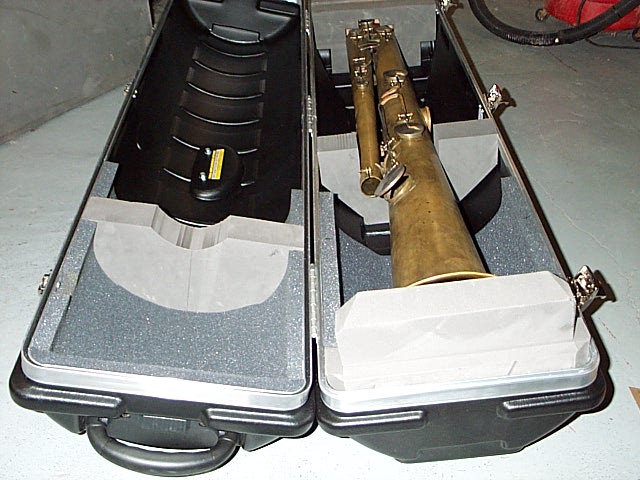
This photo shows how the ophicleide fits into the pads when the case is open. Note how they allow the bell end to be lifted easily for removal; once the bell is clear of the bell pad, the instrument can be moved to the left, 'unplugging' it from the bow pad assembly.
 
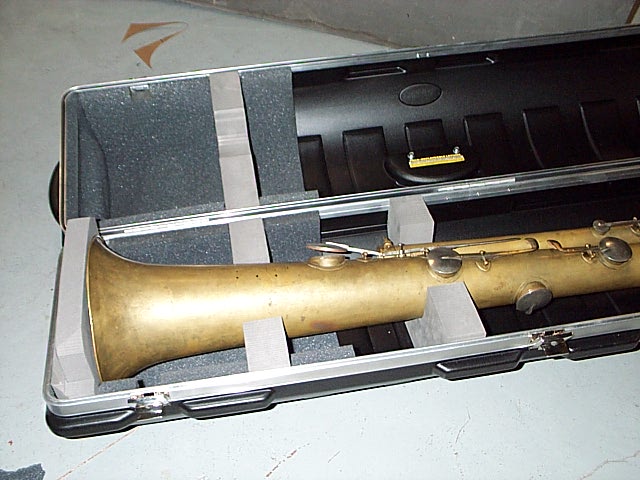
This photo shows another view of the pads with the ophicleide installed.

To complete the case, only the padded sub-case for the bocal remains to be fabricated; see the next chapter.
 

All photos made using a Kodak DC240 digital camera.
 

Goto next chapter


The Serpent Website: Return to Index

Copyright Paul Schmidt 2000
added September 2000