Build a Squarpent: Completed


Concept
Initial
Jigs
Testing
Receiver
Shaping
Assembly
Holes

 
With the finger holes drilled, give the entire instrument a good sanding, trying to smooth the glued corners of the tube, remove excess glue smears, and erasing pencil marks.

Shake the instrument and vacuum the openings to remove wood fragments and sawdust. Wipe the outside of the instrument with a clean, lint-free cloth. Apply a coating of polyurethane varnish to the entire outside surface. Use cotton swabs to apply varnish to the inside edges of the finger holes, and also varnish the undercut areas.

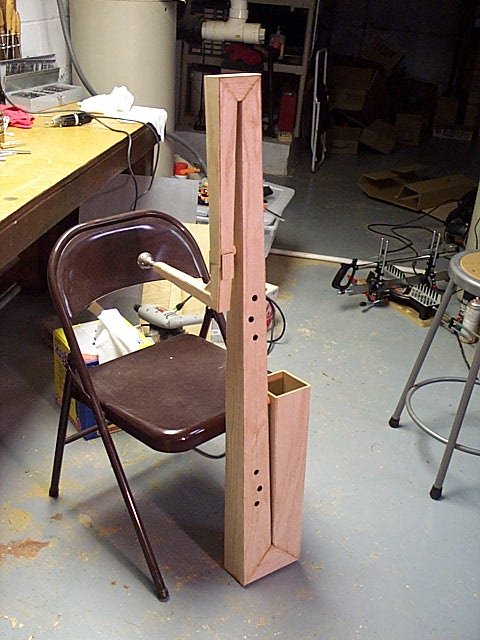
The prototype has a flaw near the bocal, and a cut was made to correct it. This photo shows two hastily applied plywood patches that were added to reinforce the repair glue joint.

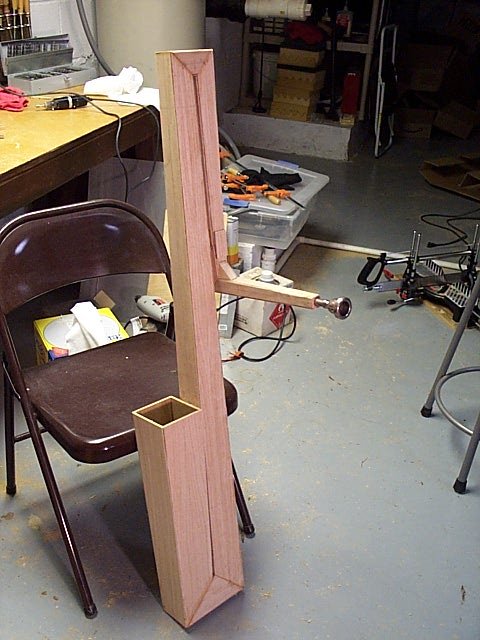
The photo shows the Squarpent prior to final sanding, cleanup and varnishing.


This photo shows the opposite side of the Squarpent.


All photos made using a Kodak DC240 digital camera.
 
Critical dimensions are provided here, duplicated from the downloadable dimension documents and drawings.

Length of bore: 92" approx.
Bore taper: 0.032
Minimum bore: 0.5" (0.25 in²)
Maximum bore: 3.5" (12.56 in²)
Wood thickness: 0.2" recommended (not critical)

 
Shaping (mitre) cuts, measured from mouthpiece end, along centerline:

Cut A: 10" 
Cut B: 26.375"    Cut C: 28.375" 
Cut D: 71"    Cut E: 74.625"

Finger holes, measured from mouthpiece end, along centerline. All holes are 1/2" diameter, or slightly larger, with undercuts:

1)  44.625"    2) 46.3125"    3) 48"
4) 60.75"    5) 62.625"    6) 64.1875"


The Serpent Website: Return to Index

Copyright Paul Schmidt 2002
added August 2002