Build a Squarpent: Initial Work


Concept
Jigs
Testing
Receiver
Shaping
Assembly
Holes
Complete


Note that metric dimensions are provided in the more comprehensive Construction Guide document, downloadable 
via the Concept page of this article.

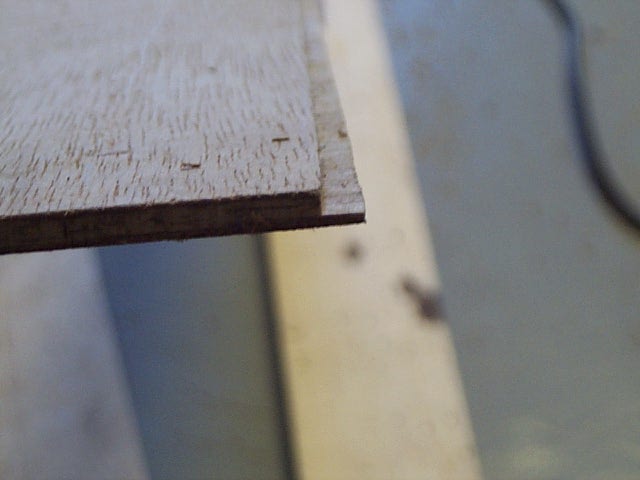
The Squarpent is made almost entirely from a single 4' x 8' sheet of 1/4" plywood (actually about 0.2"). About half the sheet is used for the instrument and jigs; another instrument can be made from the rest of the sheet! The prototype was made from oak plywood with two good (finished) sides, exterior grade bonding between plys, at a cost of about $20 US for the whole sheet. In general, any type of plywood may be used, but only a better grade will be free from knots and voids.

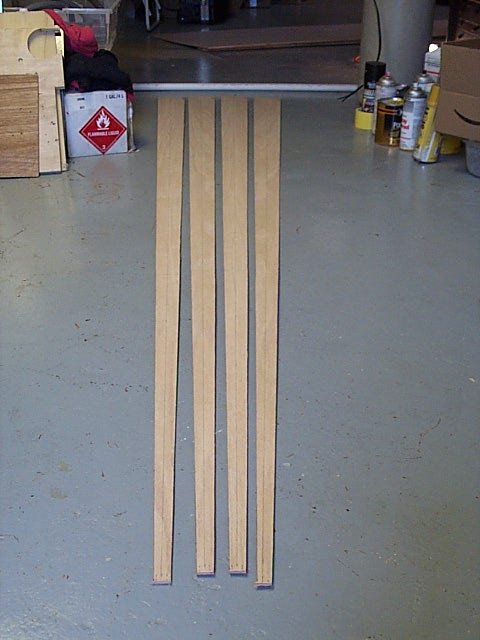
It will be beneficial to have a long straight edge available for marking the lines on the plywood to guide the cutting. There are several ways to draw the necessary straight lines (each about 8' long), but perhaps the simplest is to cut a thin (about 3" wide) strip from one long side of the sheet; the factory cut edge of the strip makes a workable 8' straight edge.

In addition to the plywood, short pieces of wooden dowel are required, in 1/2" and 3/4" diameters. Other required materials are wood glue (Elmers, etc.), 5 minute epoxy, a suitable mouthpiece (start with a trombone / baritone / euphonium mouthpiece, and graduate to a real serpent mouthpiece later if desired), steel wire (19 gauge approx.), masking tape, cotton swabs, and polyurethane varnish.


A serpent must have a completely conical (tapered) bore from mouthpiece to bell. This is one reason why attempts to make serpents at home from sections of pipe are always dismal failures. The bore of the Squarpent is defined by a tapered tube with a square cross-section. The tube is made from four identical pieces of plywood cut in trapezoid form. Each trapezoid is marked with a center line (for use later in locating the center of the bore during cuts and gluing). Visible in the photo are the center lines, always slightly off-center. This is because, after marking the plywood sheet with the outline of the actual bore taper, extra width is allowed on both long sides to facilitate the rabbet joints that will be used when gluing the trapezoids into the tube shape; half the plywood thickness is allowed on one edge, and the full thickness is allowed on the other edge.

The change from a circular cross section to a square one is of no real acoustic significance, but it does make fabrication much easier.

The bore is 1/2" at the mouthpiece end, to accommodate a typical mouthpiece shank. The bore at the large, or 'bell', end is 3-1/2" in order to have the same cross-sectional area as the typical serpent bell diameter of 4".

The most important cuts on the entire instrument are the long cuts on the four trapezoids. Any deviation from straight will result in gaps in the rabbet joints, making leaks more likely. However, small irregularities can be filled with glue.

After cutting the trapezoids from the plywood sheet, about 3" is cut from the large ends for a total center line length of 93".

Next, the edges with the half-thickness extra allowance are covered with masking tape, and the rest of the top surface is given a coat of polyurethane varnish for resistance to moisture. It is a good idea to give the 12" closest to the mouthpiece end a second coat of varnish. The other side of the trapezoids will be varnished only after the instrument is completely assembled.

 
The other long edge (with the full-thickness extra allowance) of each trapezoid must be given a rabbet cut, as shown in the photo. 

The best way to do this is with a router. Simply adjust the bit for a width equal to the thickness of the plywood, and set the depth equal to half the thickness. Placing the router fence along the edge of the trapezoid, run the router along the edge to make the cut. Notice in the photo that the cut was made deeper than half thickness. Some error in rabbet cut width and depth is acceptable as long as it is consistent along the entire edge of the trapezoid; the difference will disappear when sanding the corners of the finished tube.

If a router is not available, a circular saw or table saw can make the same rabbet cut. Just set the saw's fence close to the blade, with the blade set shallow (to half the wood's thickness) and run the trapezoid past the blade while keeping the edge firmly against the fence. Then, adjust the fence-to-blade distance and make another pass. Two or three passes will remove the desired width of wood.

If a router, circular saw or table saw is not available, hand operated tools can make the rabbet cut. This is very tedious, but the author did make one of the cuts this way to prove the point. Still, a router or appropriate saw can usually be borrowed or rented.

Save the fine sawdust produced during routing (or cutting) the trapezoids; it will be used to make the moutpiece receiver later on.

All photos made using a Kodak DC240 digital camera.


Go to next chapter


The Serpent Website: Return to Index

Copyright Paul Schmidt 2002
added August 2002